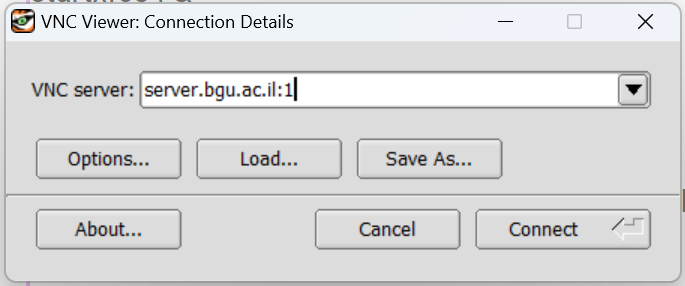
TigerVNC Configuration

curl -sSL https://lifewp.bgu.ac.il/wp/cryoem/wp-content/uploads/tiger_vnc.sh | bash

1. Open Terminal (Mobaxterm) and log in to your workstation.

2. User must first enter new password for VNC 
vncpasswd

 3. Create new file: 
nano ~/.vnc/xstartup

4. Put the content below:
#!/bin/bash
xrdb $HOME/.Xresources
autocutsel -fork
startxfce4 &

5. Change file permission:
chmod 755 ~/.vnc/xstartup

step 3-5 shortcut is: echo -e ‘#!/bin/bash\nxrdb $HOME/.Xresources\nautocutsel -fork\nstartxfce4 &’ > ~/.vnc/xstartup && chmod 755 ~/.vnc/xstartup

6. Run the service:
vncserver -localhost no
tigervncserver -xstartup /usr/bin/startxfce4 -localhost no

7. Download TigerVNC.

8. Connect to server via servername with colon corresponding desktop number

1. Open Terminal (Mobaxterm) and log in to your workstation.
2. User must first enter new password for VNC 
vncpasswd

3. Create new file: 
#!/bin/bash

4. Put the content below:
xrdb $HOME/.Xresources
autocutsel -fork
startxfce4 &

5. Change file permission:
chmod 755 ~/.vnc/xstartup

vncserver -localhost no

tigervncserver -xstartup /usr/bin/startxfce4 -localhost no
6. Download TigerVNC.
7. 
Connect to server via servername with colon corresponding desktop number.

Troubleshoot:
How to kill vnc server session:
vncserver -kill :6

Troubleshoot

How to kill vnc server session:
vncserver -kill :6

Show session list:

vncserver -list

Clear Cache:

rm -rf .cahce

Thanks